
Galaxy 3C Installation guide
Galaxy 3C at 95°West is used for CCTV distribution over North America
Footprint & Look Angles
Receiver Setup (IR2000)
Dish Assembly
LNBF Rotation

| Atlantic | East Coast | Central | West Coast | |
| Standard LNBF (Position of the connector) | 5:30 | 6:00 | 7:00 | 7:30 |
| Cylindrical LNBF (Black Line) | 11:30 | 12:00 | 1:00 | 2:00 |
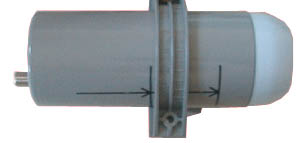
Above picture shows LNBF with 2:30 O'Clock position.
The above LNBF positions are indicative only. It is critical to do a fine adjustment of the LNBF rotation once you've found your satellite signal!
IR 2000 Digital Receiver Setup
Your receiver is an IR 2000 receiver if it reads "IR 2000" on the front panel towards the right side.
The smart card in the IR 2000 receiver should face UP (the chip faces up and the logo faces down).
To test if the card is inserted properly, go to MENU -> IRDETO -> CA Status. The smart card number should appear in the "Smart Card Number" field (something like "4001..."). Write the number down on a piece of paper.
If the smart card is not inserted properly, you will see "---" instead.
You also need to have the serial number of your receiver: It is located under the satellite receiver, NOT on the back (it starts with "S/N...")
Subscription Details (Free of charge)
CCTV is free of charge as long as you are using the correct satellite receiver and you have a CCTV smart card inserted into your receiver.
Coship 2000 Digital Receiver Setup

When the receiver is first connected, it will list "NO CHANNEL" |
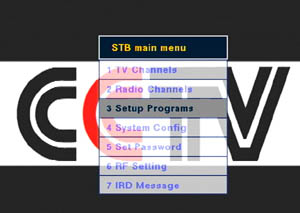
You must press "MENU" on the remote and select "SETUP PROGRAMS" |
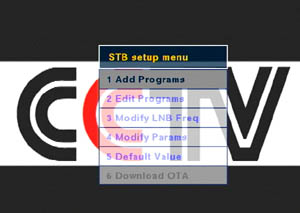
In the SETUP menu, select "ADD PROGRAMS" |
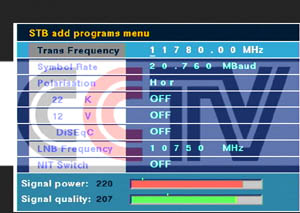
In ADD PROGRAMS, make sure that you do not change any of the parameters. Press "OK" on your remote and the receiver will scan all CCTV channels. If you change some parameters, you must re-set them to the following values:
|

When you press "OK" on the remote, the following menu information will appear. |
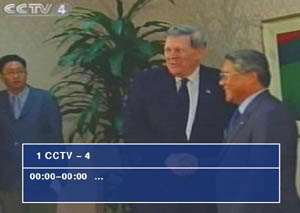
When the scan is complete, you will receiver CCTV 4. |
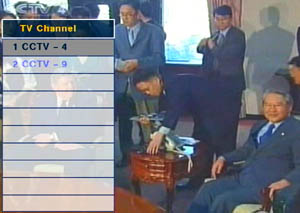
You can see a list of channels by pressing "CHAN LIST" on the remote. |
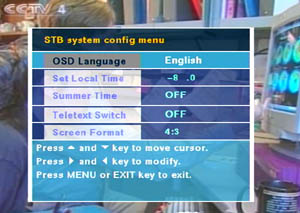
In the MAIN MENU, the "System Config" menu should not be changed. |
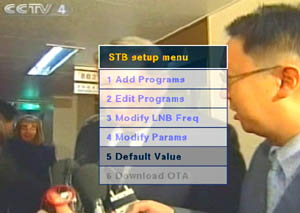
If you have problems, go to the "Main Menu" -> "Setup Menu" and select "Default Value" to reset the receivers. |
The password to reset the receiver is 9969. |
If you have any questions, please contact us.